An accent wall might be the single highest-impact weekend project in home design. One wall, one weekend. That’s the whole appeal of a good DIY accent wall.
Choose the Right Wall First
Not every wall makes a good accent wall. According to Hunker, the best accent walls act as a blank canvas. They should be free of too many windows, doors, or awkward angles.
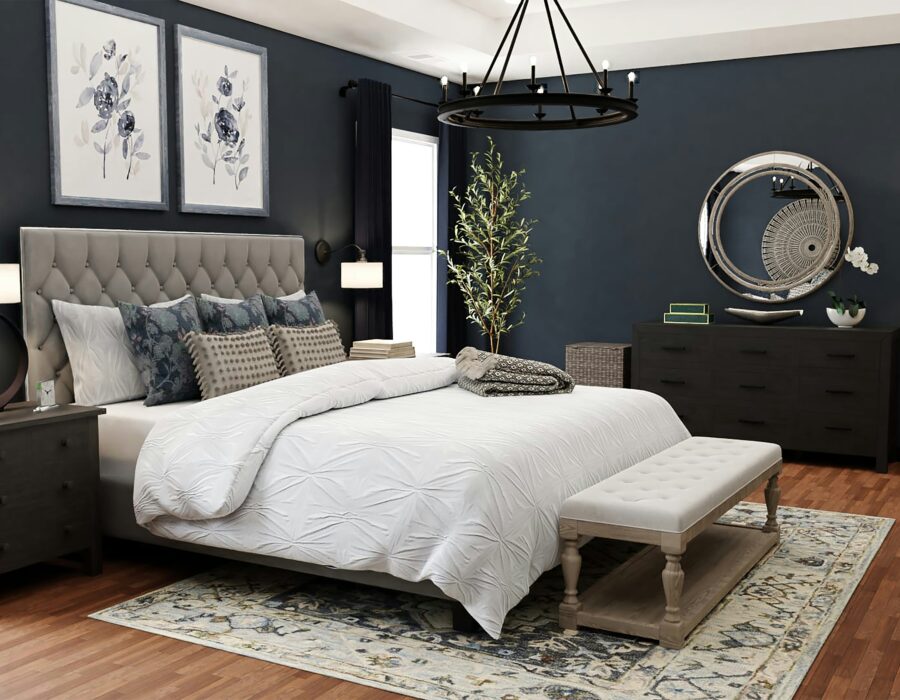
Think about where you want the eye to land first when someone enters the room. That’s usually your best candidate. A wall behind a bed, a sofa, or a dining table works well, since it naturally becomes the visual anchor.
Painting One Wall Is the Easiest Starting Point
If you’ve never done a DIY project like this, start here. Paint one wall in a bold or saturated color. That’s the whole project.
A single gallon of paint and a roller can transform a room in an afternoon. Choose a color that complements your existing walls, rather than clashing with them completely. A richer or darker version of your existing palette often works better than a totally unrelated hue.
Test Your Color Before Committing
Don’t skip this step, even for a “simple” paint project. Paint a sample patch directly on the wall. Look at it in both daytime and evening light before deciding.
An accent color can look completely different once it covers an entire wall versus a small paint chip. This is especially true with saturated or dark colors.
Consider Wood Slats for More Texture
If paint feels too simple, wood slats add real dimension. This project usually involves framing the wall, then adding vertical or patterned boards on top.
You’ll need a miter saw, a nail gun, and basic measuring tools. Most tutorials recommend buying 10 to 15% extra material. This covers mistakes, split edges, and any measurement errors along the way.
Prep the Wall Properly First
Skipping prep work is the most common way a wall project goes wrong. Clean the wall thoroughly. Sand it lightly if you’re painting or attaching wood directly to the surface.
Use a stud finder to mark secure anchor points before installing anything heavier than paint. This step matters even more for wood slat or paneling projects, since proper anchoring keeps the whole wall secure over time.
Plan Your Pattern Before Cutting Anything
For patterned wood walls, especially diagonal designs, planning matters more than skill. Tape out your pattern directly on the wall before making a single cut.
This lets you adjust spacing and angles without wasting material. It also helps confirm the pattern reads correctly from the room’s main entry point, which is the most important vantage point for how the wall will actually be seen day to day.
Label Every Cut Piece
This small habit saves real time during installation. Mark each piece on the back as soon as you cut it. This prevents confusion later, especially on patterned designs where pieces aren’t interchangeable.
Having everything cut and labeled before you start installing keeps the whole project moving at a steady pace, rather than stopping constantly to remeasure.
Fill, Caulk, and Finish for a Clean Look
Once your wall material is installed, don’t skip the finishing details. Wood filler covers nail holes. Caulk along the edges creates a clean, seamless look between panels and the surrounding wall.
This step is easy to rush, but it’s often what separates a DIY project that looks professional from one that reads as clearly homemade.
Let Everything Dry Before Final Touches
Give your primer, paint, or adhesive the full recommended drying time before moving furniture back or adding decor. Rushing this step risks smudges, dents, or an uneven finish that’s hard to fix later.
A full 24 hours is a safe general guideline for most paint and adhesive products, though always check your specific product’s instructions.
The Takeaway
A great DIY accent wall comes down to choosing the right wall, prepping it properly, and finishing the details carefully. Whether you choose simple paint or a more involved wood slat design, the entire project genuinely fits into one weekend.
Since color choice plays such a central role in how an accent wall reads, thinking through your paint decisions with the same care you’d use for a full room applies just as directly to a single accent wall.