A new backsplash can transform a kitchen’s whole look without touching cabinets or countertops. These DIY backsplash ideas all fit comfortably under $200, some far less, while still delivering real visual impact.
Peel-and-Stick Tile Is the Easiest Starting Point
If you’ve never tackled a backsplash project, peel-and-stick tile is the most forgiving option. It requires no mortar, no grout, and often installs in just a couple of hours.
This option works especially well for renters or anyone who wants a low-commitment update. Many peel-and-stick options convincingly mimic real tile, cement patterns, or even glass, at a fraction of the cost and effort.
Traditional Tile Still Fits a $200 Budget
If you want the real thing, standard ceramic or glass tile installation is achievable within budget if you do the labor yourself. According to Home Depot, the process involves prepping the wall, measuring and planning your layout, spreading tile adhesive, and finishing with grout.
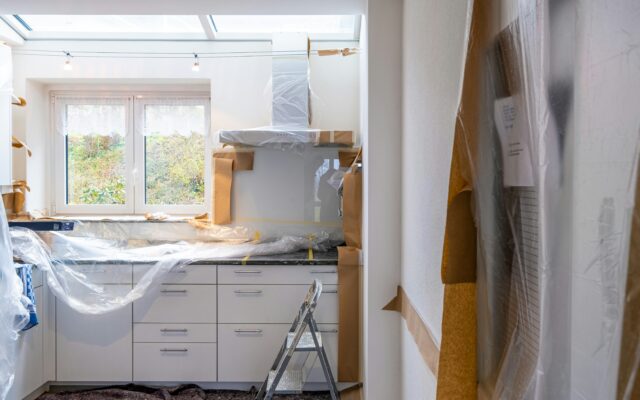
Start by protecting your countertops and turning off power to nearby outlets. Sand the wall for a smooth surface, then measure carefully and mark a centerline before laying out your first row.
Painted Faux Tile Costs Almost Nothing
If your budget is especially tight, a painted backsplash can mimic the look of real tile for under $50. This involves taping off a grid pattern and painting individual “tiles” by hand.
This technique works surprisingly well from a normal viewing distance. It’s also fully reversible, since it’s just paint, making it a low-risk way to test a pattern or color before committing to real tile.
Painting an Existing Backsplash Is Even Simpler
If you already have a tile backsplash you don’t love, painting over it entirely can solve the problem without removing anything. A solid color coat can neutralize a dated or busy tile pattern in an afternoon.
This works particularly well for textured or tumbled stone backsplashes that feel outdated but aren’t practical to remove without significant demolition.
Removable Wallpaper Offers a Different Texture
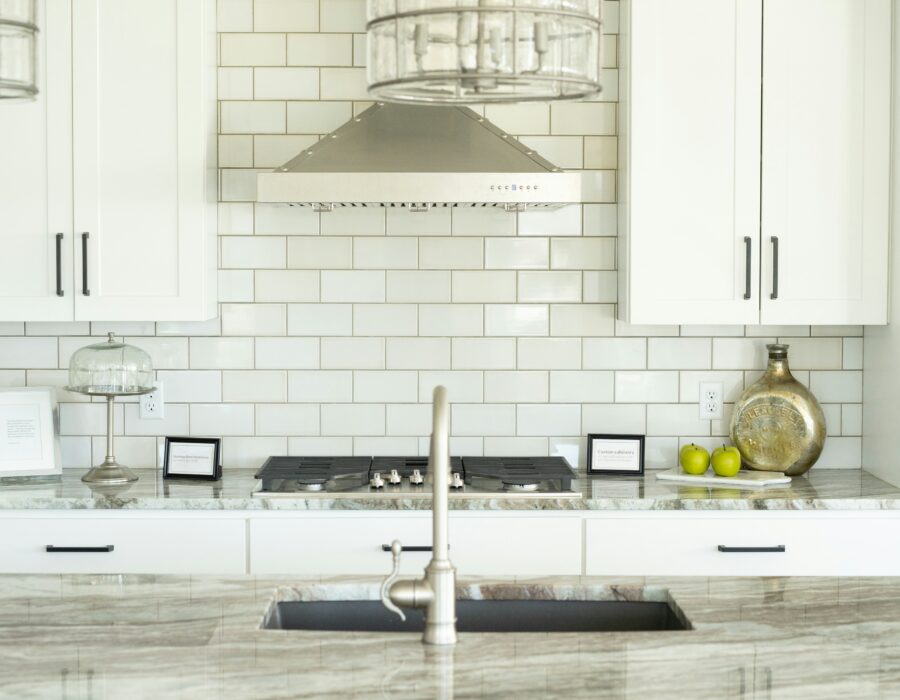
Wallpaper designed specifically for backsplash use, some styled to look exactly like subway tile, offers another low-commitment option. It’s inexpensive and easy to install, making it a good fit for renters or frequent redecorators.
This option won’t hold up as well to constant moisture and heat as real tile, so it works best in areas with lighter daily use, like behind a sink rather than directly behind a stove.
Consider Unconventional Materials for a Unique Look
Old fence boards, painted to complement your kitchen’s palette, create a distinctive rustic backsplash unlike anything store-bought. This approach costs very little if you already have reclaimed wood available.
Beadboard is another budget-friendly option that adds texture and a classic, cottage-style look, all while staying well within a $200 budget for most standard kitchen sizes.
Plan Your Layout Before Any Adhesive Goes On
Regardless of which material you choose, dry-fitting your layout first prevents costly mistakes. Lay tiles out on your protected countertop before committing to adhesive, so you can see exactly where cuts will be needed and how the pattern will read.
This step matters even more with patterned or mosaic tiles, where the overall visual rhythm depends on careful planning rather than simply starting from one corner and working across.
Choose the Right Adhesive for Your Tile Type
Different tile materials need different adhesives. Glass tile typically requires thin-set mortar, while some lighter materials work with simpler adhesive mats designed specifically for backsplash use.
Checking this detail before starting prevents a mismatched adhesive that either fails to bond properly or damages more delicate tile materials during installation.
Budget for Small Extras Beyond the Tile Itself
Even a DIY backsplash needs a few supporting materials: spacers, grout, sealant, and basic tools like a notched trowel. Building a small buffer into your $200 budget for these extras prevents a mid-project scramble for missing supplies.
Most of these items are inexpensive individually, but they add up. Planning for them upfront keeps your total project cost realistic from the start.
The Takeaway
Good DIY backsplash ideas prove that a genuine kitchen transformation doesn’t require a large budget. Peel-and-stick tile, painted faux patterns, or a real ceramic tile installation can all fit comfortably under $200 with careful planning and a weekend of work.
Once your backsplash is updated, refreshing your cabinets with the same budget-conscious approach completes the transformation without requiring a full kitchen remodel.