A popcorn ceiling can instantly date a room, but removing it involves one critical step most people skip. Learning how to remove popcorn ceilings safely starts with a single question: does it contain asbestos?
Always Test Before You Touch the Ceiling
If your home was built before the mid-1980s, your popcorn ceiling may contain asbestos. According to Home Depot, you can’t identify asbestos just by looking at the texture. Testing requires either an EPA-approved test kit or a certified asbestos specialist.
This step isn’t optional. Asbestos isn’t dangerous while undisturbed, but scraping releases microscopic fibers into the air, and those fibers can remain airborne for extended periods once disturbed.
If Asbestos Is Present, Hire a Certified Professional
If your test comes back positive, the safest path is hiring a certified abatement contractor rather than attempting removal yourself. The specialized equipment, disposal requirements, and health risks involved make this one of the clearest cases where professional help is worth the added cost.
This isn’t about avoiding a manageable DIY project, it’s about avoiding a genuine health hazard that professionals are specifically trained and equipped to handle safely.
For Asbestos-Free Ceilings, Gather the Right Supplies First
Once you’ve confirmed your ceiling is asbestos-free, gather your materials before starting: plastic sheeting to cover floors and furniture, painter’s tape, a spray bottle or garden sprayer, a wide putty knife or drywall scraper, and drywall compound for patching afterward.
A ladder, safety goggles, and a dust mask round out the basic setup. Popcorn texture is messy once wet, so protecting surrounding surfaces thoroughly saves significant cleanup time later.
Cover Everything Before You Start
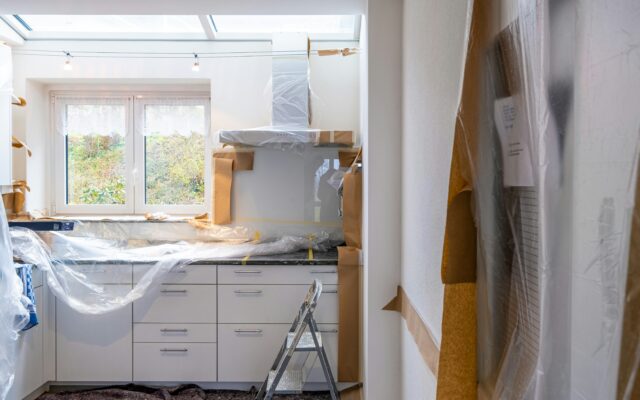
Seal off the room from the rest of the house and cover floors, furniture, electrical boxes, and vents with plastic sheeting. This single prep step prevents debris and dust from tracking into other areas of your home during the messiest part of the project.
Take the time to do this thoroughly rather than rushing. A well-covered room saves hours of cleanup compared to one where dust and texture scraps have spread throughout adjacent spaces.
Wet the Ceiling Before Scraping
Spray a small section, roughly four feet by four feet, with warm water and let it sit for about 15 minutes before scraping. This softens the texture, making it easier to remove and reducing how much dust and debris becomes airborne during the process.
Work in small sections rather than wetting the entire ceiling at once. Popcorn texture that sits wet too long before scraping can become harder to work with, not easier.
Scrape at the Right Angle
Use a wide drywall knife held at roughly a 30-degree angle against the ceiling. Push gently rather than forcing the scraper, letting the softened texture come away in manageable sections rather than fighting against dry, unsoftened material.
Work section by section across the entire ceiling, re-wetting each new area as you move along, rather than trying to wet and scrape the whole room simultaneously.
Expect an Uneven Surface Underneath
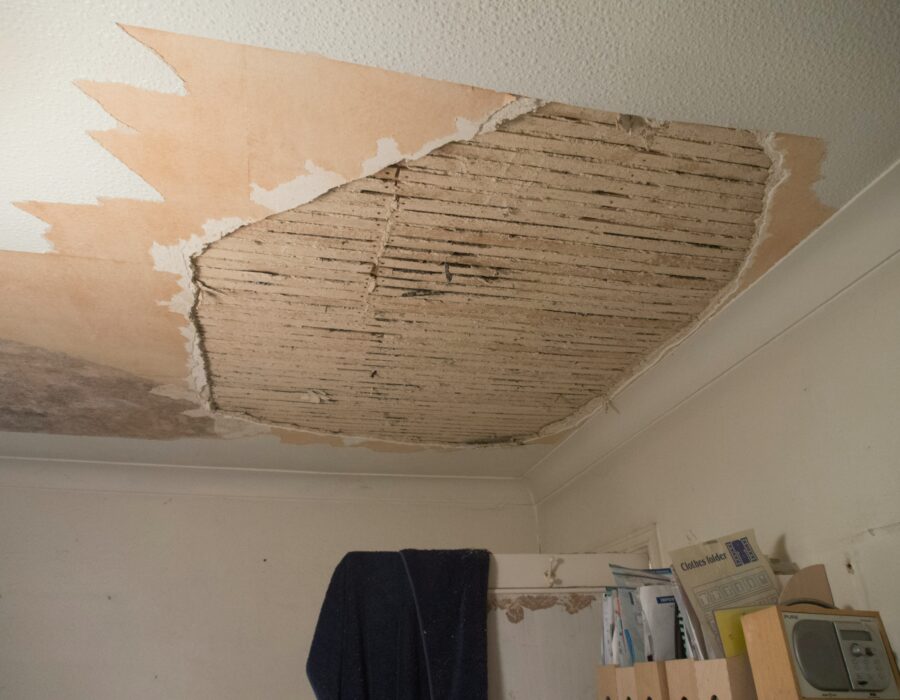
Once the popcorn texture is removed, the drywall underneath is almost never perfectly flat. Seam tape ridges, raised screw heads, and shallow gouges from the scraping process are all common and expected.
This isn’t a sign that something went wrong. It’s simply the normal condition of a ceiling once its texture has been removed, and it’s addressed in the finishing steps that follow.
Let the Surface Dry Before Patching
Give the ceiling a full 24 hours to dry completely before beginning any patching work. Applying joint compound to a still-damp surface leads to poor adhesion and a finish that’s more likely to crack or fail later.
Once dry, apply a skim coat of joint compound over the gouges and uneven areas, feathering the edges so the patched sections blend smoothly with the surrounding surface.
Sand, Prime, and Paint for a Finished Look
After the patching compound dries, sand the surface with fine-grit sandpaper, ideally using a pole sander for easier reach across a full ceiling. This smooths any remaining unevenness before painting.
Apply a primer designed for bare drywall before your final paint coat. This step ensures even paint absorption and a consistent, professional-looking finish across the entire ceiling.
Budget Real Time for the Full Process
A single bedroom-sized ceiling typically takes four to six hours of active work, often spread across two days to account for drying time between steps. Larger rooms or ceilings with more texture take proportionally longer.
Planning for this realistic timeline prevents the frustration of an unfinished, half-patched ceiling left mid-project because the scope was underestimated at the start.
The Takeaway
Knowing how to remove popcorn ceilings safely starts with one non-negotiable step: testing for asbestos before any scraping begins. For confirmed asbestos-free ceilings, wet scraping, careful patching, and proper drying time between steps produce a smooth, modern finish. For anything testing positive, professional removal is the only genuinely safe option.
Since this project relies on having the right scraping and patching tools on hand, building out a basic homeowner toolkit beforehand makes tackling a ceiling project, and whatever comes after it, far more manageable.