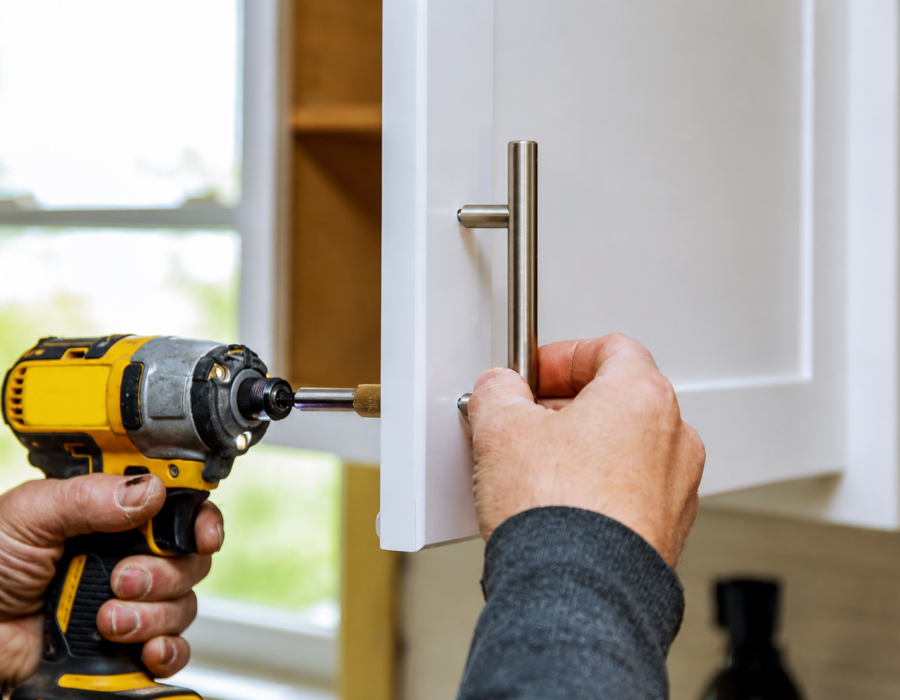
New cabinet hardware might be the single fastest way to change a kitchen’s entire personality. Learning how to update cabinet hardware properly means getting sizing and placement right before a single hole gets drilled.
Knobs vs Pulls: Know the Difference First
Cabinet knobs mount with a single screw and require just one hole. Pulls use two screws and require two holes, spaced at a specific distance called the center-to-center measurement.
This distinction matters most if you’re switching between the two. Going from a knob to a pull, or vice versa, may require patching an old hole or drilling a new one, depending on your existing hardware.
Measure Center-to-Center Correctly
If you’re keeping the same hole pattern to avoid patching, measure the distance between screw hole centers on your existing hardware, not the edge-to-edge distance. This center-to-center measurement is the number that matters when shopping for replacements.
Most cabinet hardware is manufactured in metric sizes, even when U.S. listings show inch equivalents. Measuring precisely and confirming the exact spec on any new hardware prevents an expensive mismatch.
Use the 1/3 Rule for Sizing
A helpful general guideline: choose a pull length that’s roughly one-third the width of the drawer front it’s mounted on. Base this on the pull’s total tip-to-tip length, not just its center-to-center measurement, since these numbers differ.
For drawers wider than 36 inches, using two pulls, or a single extra-long pull, both work well. This rule helps keep hardware size proportional across drawers of different widths in the same kitchen.
Choose a Consistent Finish, With Room for Contrast
Mixing metals has become common in kitchen design, but it works best with intention rather than accident. Sticking to one primary finish across most hardware, while allowing a secondary finish for a specific accent, like the faucet, creates a cohesive but not monotonous look.
Pick two finishes at most for most kitchens. More than that starts to feel scattered rather than intentionally layered.
Use a Jig for Consistent Placement
Drilling more than a handful of cabinet doors by hand, measuring and marking each one individually, invites small inconsistencies that become very visible once everything is installed. According to Family Handyman, a jig lets you set your spacing once and reuse it across every door and drawer without remeasuring each time.
This is especially valuable with more than four doors, or any hardware installed side by side, where even small misalignment becomes obvious at a glance.
Mark With an Awl, Not Just a Pencil
Before drilling, mark your hole location with an awl rather than relying on a pencil mark alone. This small step prevents the drill bit from wandering off-center when you start drilling, which is a common source of crooked hardware placement.
Taping over unused jig holes with masking tape also prevents accidentally drilling through the wrong guide hole on a multi-purpose jig.
Account for Door and Drawer Thickness
Hardware projection, how far a knob or pull extends from the surface, depends partly on the thickness of your cabinet door or drawer front. This matters most for hardware with backplates, where thickness directly affects final fit and appearance.
Checking manufacturer specification sheets before ordering prevents hardware that either sits awkwardly close to the surface or projects further than intended.
Reinforce Knobs Prone to Loosening
Oblong or rectangular knobs that mount with a single screw are notorious for twisting loose over time. A small drop of super glue on the back of the knob before installation, in addition to thread sealant on the screw, helps prevent this ongoing annoyance.
This small extra step during installation saves repeated tightening headaches down the road.
Place Hardware Consistently Across Cabinet Types
Upper cabinets often benefit from slightly more condensed hardware placement, while lower cabinets and drawers can handle slightly wider spacing. Adjusting based on cabinet size and function, while staying consistent within each category, creates visual order throughout the kitchen.
This consistency is often what separates a hardware update that looks professionally done from one that reads as slightly off, even when no single piece is technically wrong.
Test One Cabinet Before Committing to the Full Kitchen
Before drilling every cabinet in your kitchen, install hardware on a single door or drawer first. This lets you confirm sizing, placement, and finish in person before committing to a full-kitchen purchase and installation.
This small pause catches problems while they’re still easy to fix, rather than after you’ve drilled dozens of matching holes.
The Takeaway
Learning how to update cabinet hardware properly comes down to accurate measuring, a consistent placement system, and choosing sizing that’s proportional to your specific cabinets. A jig, careful marking, and a test installation all prevent the small inconsistencies that make a hardware update look amateurish rather than intentional.
Since hardware updates work equally well outside the kitchen, applying the same approach to a bathroom vanity extends this same quick, high-impact update to another room entirely.