A worn dresser or scratched table doesn’t need to end up at the curb. Learning how to refinish old furniture can transform a tired piece for a fraction of what a new one costs.
Decide If You Need a Full Refinish or Just a Refresh
Not every piece needs a complete strip-and-stain job. If the finish is only dull or lightly scratched, a gel stain or wipe-on finish can skip the stripping step entirely.
Look for specific signs before committing to a full refinish: a faded, dull sheen from sun exposure, visible scratches or water rings, or uneven staining that no amount of polishing will fix. These issues typically call for the full process.
Prep Your Workspace First
Refinishing furniture creates dust, fumes, and mess. Work in a well-ventilated area, ideally outdoors or in a garage, and lay down a tarp to protect the surrounding surface.
Remove knobs, pulls, and hinges before starting. This speeds up sanding and staining while keeping stain or paint off the metal hardware entirely.
Strip the Old Finish
If you’re removing an existing stain, paint, or varnish, apply a chemical stripper to the entire surface. According to Benjamin Moore, you may want to consult a painting professional before using strippers, since they require proper ventilation and eye protection.
Let the stripper sit according to the product’s instructions, typically around 20 minutes, then scrape it off with a putty knife. The old finish should come away along with it.
Sand in Stages, Not All at Once
Sanding is the step that determines how good your final finish looks. Start with coarser sandpaper, around 120 grit, to remove any remaining finish and smooth out rough spots.
Work up to finer grit, around 220, for the final pass. Always sand in the direction of the wood grain. Sanding across the grain leaves visible marks that show up clearly once stain is applied.
Don’t Sand Too Smooth
It’s tempting to keep sanding for a perfectly smooth surface, but going beyond 320 grit can actually work against you. Overly smooth wood struggles to absorb stain evenly, leading to a patchy, inconsistent color once applied.
Stop at a reasonable finish grit and trust that the wood is ready, rather than continuing to sand well past the point of diminishing returns.
Repair Damage Before Staining
Deep gouges, scratches, or nail holes need attention before any stain goes on. Fill them with wood filler or epoxy putty, then sand the repair flush with the surrounding wood.
If a piece has structural issues, like a wobbly table leg, reglue or tighten it now. Staining over a structural problem doesn’t fix the underlying issue, and it’s much harder to address once the finish is complete.
Remove All Dust Before Staining
After sanding, wipe the entire piece down with a tack cloth to remove dust. Any leftover dust particles will show up as small bumps or imperfections once your stain or paint goes on.
This step is easy to rush, but skipping it undermines all the careful sanding work you just completed.
Apply Stain With Even, Consistent Strokes
Use a staining pad or brush to apply stain in long, even strokes following the wood grain. Wipe off excess with a clean cloth shortly after application, wiping lightly with the grain to avoid streaking.
Let each coat dry fully before deciding whether to add another. Multiple thin coats generally produce better, more even results than trying to achieve full color in a single heavy application.
Seal With a Protective Topcoat
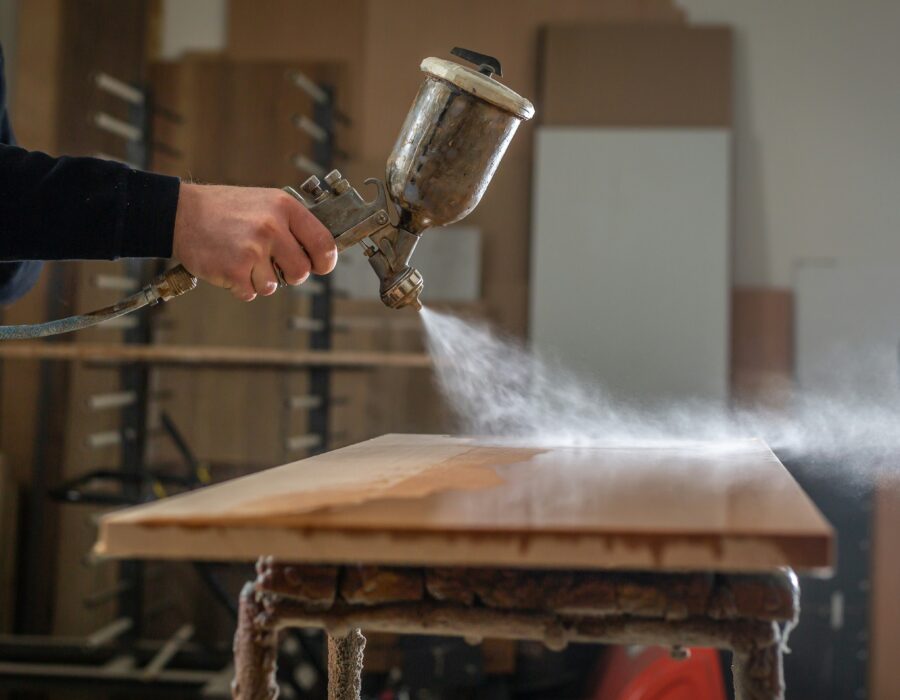
Once your stain has dried completely, apply a clear coat for protection and sheen. Oil-based clear coats and spray-on options both work well, applied in even, sweeping motions.
Sand lightly between coats with fine sandpaper to smooth any imperfections. This step gives the final finish a more professional, polished result.
Let the Piece Cure Fully Before Use
After your final coat, let the piece cure in a warm, dry, well-ventilated space for at least 24 hours before regular use. Rushing this step risks smudges, dents, or an incomplete cure that leaves the finish soft and vulnerable to damage.
The Takeaway
Learning how to refinish old furniture comes down to patience more than skill: proper stripping, careful sanding in the right direction, and multiple thin coats of stain and sealant. A single weekend project can genuinely restore a piece to look brand new.
Since this kind of project relies on having the right sanding and finishing tools on hand, building a basic homeowner toolkit first makes tackling a furniture refinish, and the next one after it, far more approachable.